Stripping Wallpaper: Easy DIY Removal
Taking down wallpaper can dramatically change the look of your home. Follow our tips with advice from the experts.
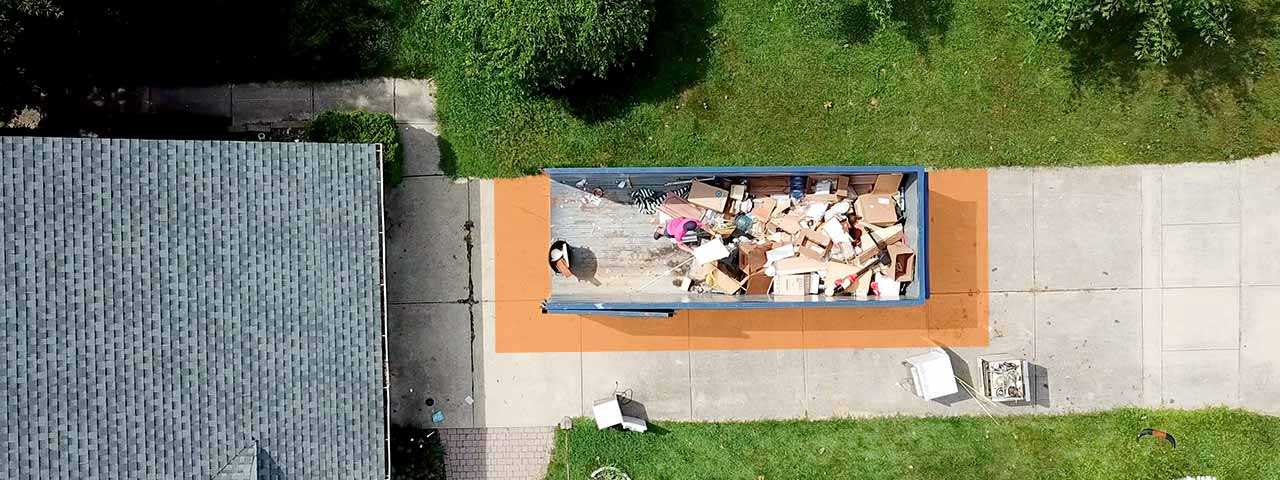
Make cleanup a breeze with a roll off dumpster:
Solvent vs. Steam: The Best Ways to Remove Old Wallpaper
From stubborn adhesive to piles of soggy paper, taking wallpaper off your walls can be a messy endeavor. But while it’s possible to paint over wallpaper, it’s best to strip it and start fresh with a smooth, even surface. To streamline the process, we’ll walk you through the easiest ways to remove wallpaper and the best wallpaper removal tools to get the job done without damaging your walls.
Read on to find out how to remove stubborn wallpaper with expert tips from Stephanie Spa with Rust-Oleum and Makayla Durand with HomeRight.
Wallpaper Removal FAQs
How hard is it to remove wallpaper?
Depending on the age and style of your wallpaper, the difficulty varies. Typically, the toughest aspect is removing wallpaper glue and backing. While you may want to speed up the process, working too aggressively can damage your walls.
Does wallpaper ruin walls?
No, it doesn't ruin walls. Just get it wet and scrap it off. Depending on the type of wallpaper you're dealing with, you may need the help of a steamer or solvent.
How long does it take to remove wallpaper?
It can take a full day or longer to remove wallpaper from an average-sized room. Some factors, like your wall's age and the amount of prep that went into papering it, can impact the time it takes you to remove wallpaper.
How much does it cost to have wallpaper professionally removed?
Professional wallpaper removal usually costs $1 - $4 per square foot. Typically, this covers the costs of labor, materials and equipment.
Should I rent a dumpster for wallpaper disposal?
If the wallpaper removal is part of a larger renovation project, renting a roll off dumpster is an excellent way to keep your workspace tidy and get rid of the waste quickly. However, if you're simply taking wallpaper of one or two walls, a dumpster may not be the right solution.
Think you need a dumpster? Place your order online today.
Order a Dumpster Online
Shopping after hours? Too busy to make another call? Book the dumpster you need, when you need it. Order your dumpster online 24/7.
Prepare for DIY Wallpaper Removal
Determine what type of wallpaper you’re dealing with:
- “Strippable” wallpaper: a modern application, designed to be easily removed without tearing.
- Traditional wallpaper: requires more effort but can be stripped with the help of scoring, solvents or steam.
- Vinyl or laminated wallpaper: is the most difficult to remove since its washable surface makes it difficult for steam or solvents to penetrate it. A wallpaper-scoring device can help, but you may want to consult a professional.

Pro Tip
To remove vinyl or laminated wallpaper, peel away the top layer first to reveal the backing. If you come across sections that are difficult to remove, score these pieces with a wallpaper scoring tool and use a wallpaper remover to soak into the vinyl and adhesive.
Find out what type of walls you have:
- Homes built before the 1950s generally have walls made of plaster over wood, gypsum or metal lathe. Since wallpaper doesn’t adhere directly to the wood, removal is usually easy. Plaster is also much more resistant to water than drywall, making steaming safer.
- Homes built after the 1950s are likely constructed with drywall. If the wall was primed before the wallpaper was applied, removal should be easy. But when wallpaper bonds directly to drywall, it can be very difficult to remove without causing damage to the wall.

Pro Tip
To find out which type you have, check under a wall plate or light switch to see an exposed section of the wall. Drywall will be thin and uniform, while plaster will be troweled right up to the electrical box.
Wallpaper Removal Tools Needed
Tools | Supplies |
|---|---|
Scoring device | Safety gloves and masks |
Wallpaper scraper | Drop cloths |
Wallpaper steamer | Hot water |
Ladder or step stool | Dish soap |
Plastic drywall knife | Clean towels or rags |
Spray bottle | |
Trash bags |
Need a dumpster to handle the mess?
Get a Price and Place Your Order Give Us a Call to Learn More
Room Prep
Let’s get the room ready.
Before you start removing wallpaper off the walls, take the following steps to make stripping wallpaper safe and minimize the mess:
- Move furniture away from the walls or out of the room.
- Turn off electricity to the room at the fuse box, then mask outlets and switches with painter’s tape to prevent shock or damage.
- Place garbage bins nearby lined with heavy-duty trash bags to dispose of paper and residue.
- Remove everything from the walls including art, electrical plates, phone jacks, etc.
- Tape plastic along the baseboard to keep water or solvent from dripping onto the floor.
- Cover the floors with a drop cloth. You can also place towels near the walls to absorb water.
- Wear disposable gloves to protect skin. You can also wear a face mask, eye protection and knee pads for added safety.
- Keep children and pets away from the space. Old wallpaper glue can contain toxic fungicides.

Pro Tip
If you’re removing several rooms’ worth of wallpaper or if this task is part of a larger home improvement project, use our disposal guides to learn how to handle the debris.
How to Remove Wallpaper Without Damaging Walls
1. Take Down All the Wallpaper You Can Without Help
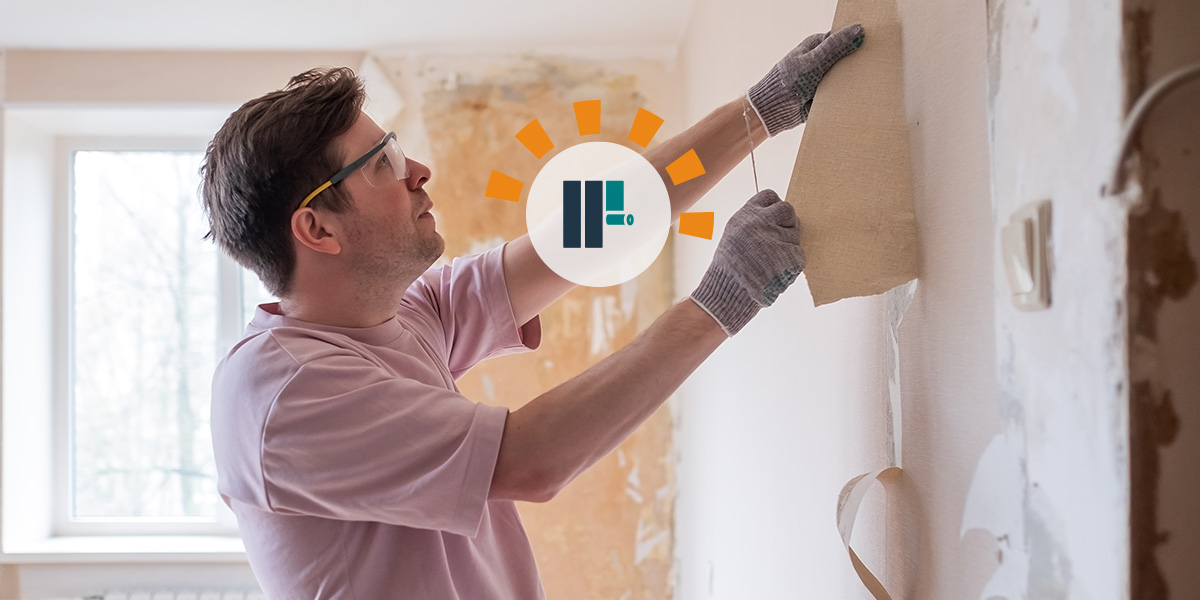
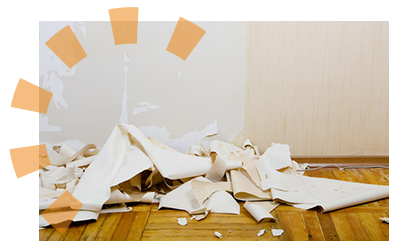
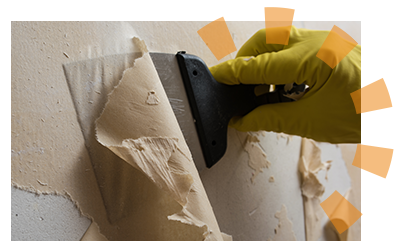
Start at a corner, loose seam or outlet and use a putty knife to peel the top layer of wallpaper. Leave the backing on the wall for now — that comes next. If you can tear the paper off in complete or partial sheets, this is called dry stripping. When working with well-primed walls, you should be able to continue dry stripping and finish the room in a couple of hours.
The longer the paper has been up, the more difficult this will be. If you have trouble removing the facing, we have you covered with the next steps.
2. Score the Wallpaper Before Applying Solvent or Steam
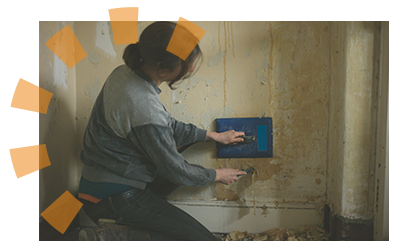
Run a scoring tool all over the remaining wallpaper and backing, but be careful not to press too hard and damage the wall surface. Whether you decide to go with solvents or steam, perforating the wallpaper with tiny holes allows the layers to be saturated.

“We recommend starting with our easy-to-use Paper Tiger Scoring Tool, which will perforate the wallpaper allowing our wallpaper stripper to penetrate and loosen adhesive without damaging the wall.”
3. Apply a Wallpaper Stripper or Use a Steamer
Both options are good choices for taking down the remaining wallpaper. Read on to learn the specifics of each.
How to Use a Wallpaper Stripper for Removal
Chemical wallpaper strippers break down the paste to remove wallpaper easily. To help you remove wallpaper safely, Spa recommends the following tips:
- Wear rubber gloves and eye protection. Most chemical solvents are caustic — so avoid skin exposure.
- Dilute the solvent with water. Follow the manufacturer’s directions to prepare for use.
- Spray or sponge apply your wallpaper stripper. Wait two to five minutes for the solvent to penetrate.
- Remove wallpaper carefully with a scraper. Be careful not to gouge the wall or your hand. For safe removal, you can use the Zinsser Paper Scraper.
- Continue this process in sections. Apply solvent only to the space you can strip in a 15-minute period.
How to Remove Wallpaper With a Steamer
Using a steamer to remove wallpaper is an eco-friendly alternative for stiff and heavy products. You can rent a commercial steamer at your local home improvement store. "We have found that one of the easiest ways to remove wallpaper is with steam," Durand said. "Stripping wallpaper can be a painful chore, but using steam makes the job much easier.”
- Open a window or ventilate the room to keep moisture from building up.
- Add water to the steamer and allow it to heat up. Follow the manufacturer’s instructions.
- Hold the steamer pad or plate to the wallpaper. Give it enough time to penetrate the paper and soften the glue. Be careful not to hold too long — you can damage the drywall or soften the plaster.
- Use a scraper to remove the wallpaper and backing. Do not use your hands! The paper and glue will be very hot from the steam.
- Don’t work too aggressively. The drywall or plaster may be soft.
- Repeat this process in small sections so the backing doesn’t dry out. Don’t keep the drywall surface wet for longer than 15 minutes.

“When the wallpaper is removed, you should go back over the wall with the steam plate to remove all of the adhesives. Once the wallpaper has been completely removed, you can move on to painting your room.”
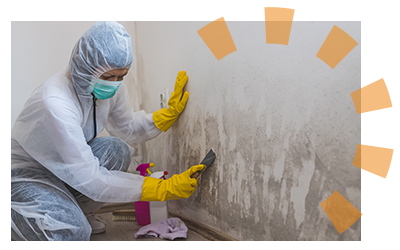
4. Clean and Repair the Wall After Wallpaper Removal
To ensure fresh paint coats your wall evenly, you need to make sure the surface is clean and flat. Sponge the walls with clean water to remove the remaining adhesive. Be careful not to oversaturate drywall. Allow the walls to dry for a few days before painting or recovering.
If you damaged plaster or drywall during wallpaper removal, it’s time to patch it up. To fix drywall, you’ll need a spackling and patching compound. Spa recommends MH Ready Patch because it “dries fast, cures rock hard, and is shrink resistant.” Use a spackling plate to place the compound onto the areas with holes, then smooth out until flat.
Get Ready to Prime and Paint
Now that you’re done taking down the old wallpaper, it’s time to paint. Whether you want to paint an accent wall or go with a vibrant color throughout the space, it’s important to select the right shade to set the mood. For more DIY inspiration, check out more Indoor Projects that'll help you transform your home.
Expert Contributors

Makayla Durand
Makayla has worked for HomeRight for over five years. The HomeRight brand is operated by Minneapolis-based Wagner SprayTech Corporation, a market leader in advanced paint applicators. It develops and markets painting and decorating products used in both home and commercial improvement projects.

Stephanie Spa
As the assistant brand manager of Rust-Oleum, Stephanie has several years of experience in the paint industry. Based in the Illinois area, her work has helped the brand grow to be a global leader in manufacturing paint and protective coatings.
What Do You Think?
Have thoughts on removing wallpaper? We want to hear about it. Head over to Twitter or Facebook,
and use #dumpstersblog to join the conversation.


