Use Our Flood Remediation Checklist to Purge, Repair and Rebuild
Whether you're a hurricane survivor or a homeowner with bad luck, recovering from flood damage is tough. Use this guide to help get you through the worst of it and start over again.
Make cleanup a breeze with a roll off dumpster:
Severe Weather and Hurricane Damage
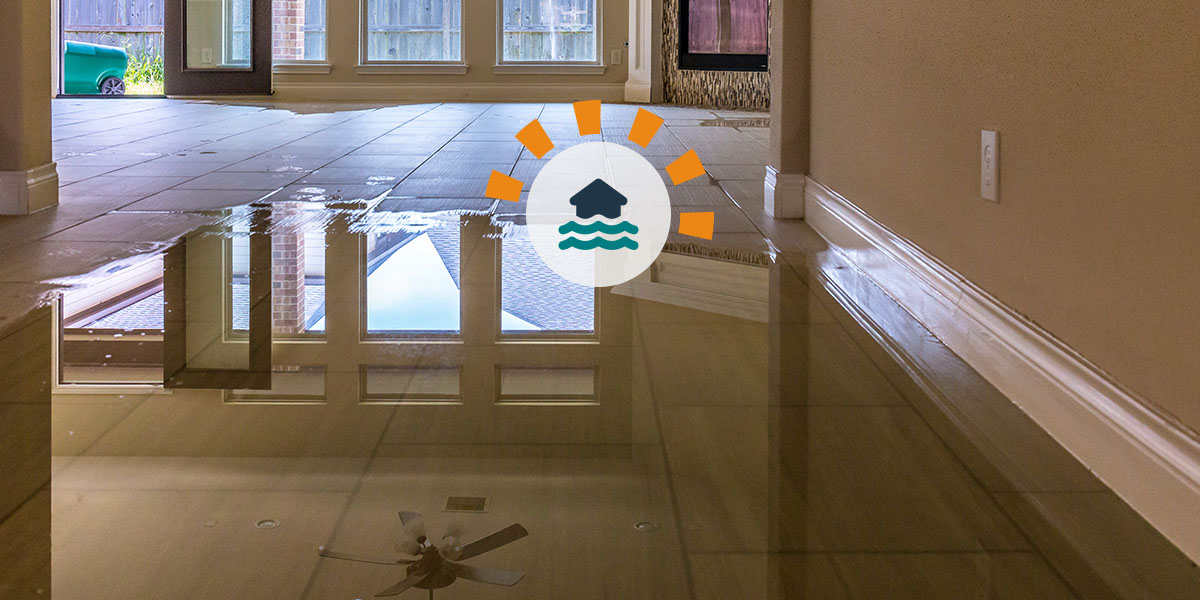
Flood damage can come from different sources, whether it's the result of a seasonal downpour, sewer line backup or a disastrous hurricane — like when Hurricane Ian hit the Fort Myers, FL area in October 2022. The severity of the aftermath isn't easy to deal with no matter what type of flood destruction you're facing. With advice from Diana Rodriguez-Zaba with ServiceMaster Restoration by Zaba, we've created a helpful guide to simplify the overwhelming task of assessing damage, sorting through items and restoring your home to its original state.
Flood Cleaning FAQs
Will a dumpster help me clean up after a flood?
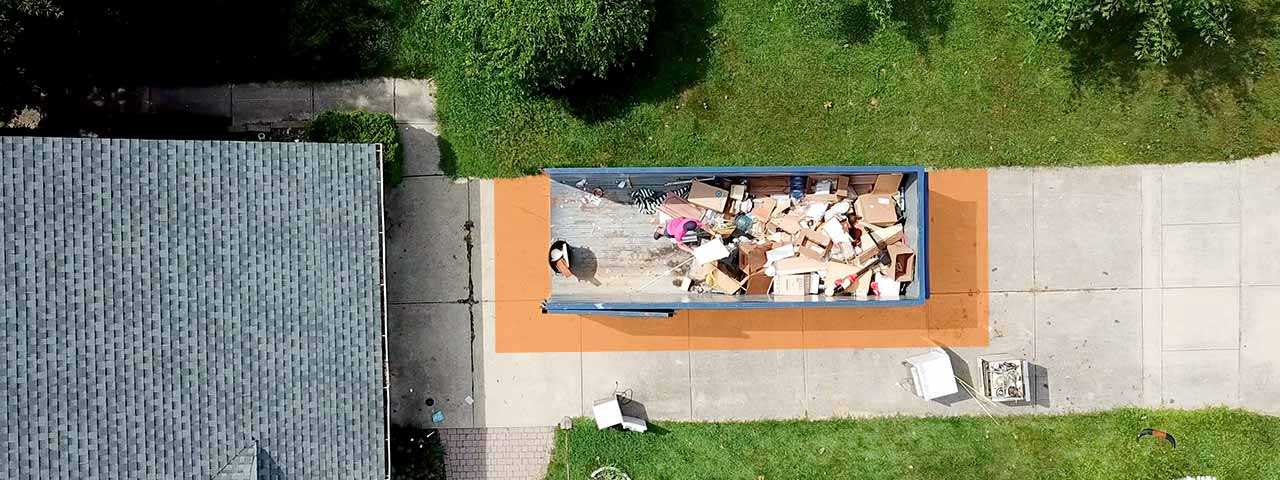
There are a lot of items you'll need to throw out after a flood. While curbside collection can take a lot of it, the service may be backup up or may not be accepting bulky materials due to time and space constraints. In that event, a roll off dumpster will help you clean up quickly and efficiently.
Think you need a dumpster? Place your order online today.
Can you keep furniture after a flood?
Yes, but it depends on what type of furniture you have and the amount of flood damage it received. Higher quality items, like solid wood or other porous furniture, have a better chance of returning to their pre-disaster condition than less expensive, upholstered or particleboard pieces. And for health reasons, do not salvage anything if its been soaked in sewage. For any items damaged beyond repair, check out our furniture disposal guide to find the best option for you.
Try removing excess moisture by leaving it out in direct sunlight for 1-2 days. Avoid using hairdryers or blowers because the wood can break from drying too quickly.
How do you clean flood damaged clothes?
To properly clean flood-damaged items, you'll first soak them in hot water and oxygen bleach (or other safe-for-fabric bleach), then toss them in your washer like normal. Keep in mind that you may need to wash an item repeatedly to salvage it. If, after several washing cycles, the mildew still won't go away, it might be damaged beyond repair.
Who is liable for flood damage?
Flood liability is typically dealt with by multiple parties, even if the flooding is from a single source. For example, if the flood damage is caused by a sewer pipe, the water and sewer company will be involved. Whereas, in the case of Hurricane Ian, the responsibility passes through homeowner insurance, and federal policy and the homeowner's pockets for the uninsured.
Order a Dumpster Online
Shopping after hours? Too busy to make another call? Book the dumpster you need, when you need it. Order your dumpster online 24/7.
Where to Start Your Flood Cleanup
First, Document the Damage
Contact your insurance company before you start any cleanup efforts. Take pictures of the affected areas, including damage to furniture, clothes, appliances and anything you think you may need to throw out. This will help substantiate your insurance claim.
Also, keep track of your power bills until your home is restored. Your insurance may cover the additional use of tools and equipment that were required to return the house back to normal.
Next, Prepare for Flood Cleanup
Get the Water Out
Once you've documented the initial damage, rent a pump to clear out any remaining standing water. If there isn't much left, you can use a dehumidifier along with fans and your heating system to dry out the remaining puddles.

Safety Tip
Try to clear out flood water within 48 hours. Experts say this will help avoid severe damage and dangerous mold growth.
Gather Your Supplies
Next up on the task list is to gather all of your necessary supplies to avoid making extra trips to the store during your flood cleanup.
Flood Cleanup Supplies and Safety Equipment
Tools | Supplies |
|---|---|
Rubber gloves | Trash bags |
Protective eyewear | Trash cans |
Face mask | Utility knife |
Knee pads | Pry bar |
Long-sleeved clothing | Hammer |
Boots | Floor scraper |
Shovel | Pliers |
Large bucket | Saw* |
Chlorinate bleach | Wet shop vac |
Towels | Broom |
Stiff-bristled brush | |
Dehumidifier | |
Fans |
Need a dumpster to handle the mess?
Get a Price and Place Your Order Give Us a Call to Learn More

Pro Tip
Take pictures throughout your flood cleanup — particularly how high the water line is — to document how much you had to throw away and what was able to be saved. These photos will be important for future insurance claims, so keep them for your records.
Checklist for Cleaning Up After a Flood
1. Remove Residual Mud and Dirt
Once the standing water has been pumped out, grab your boots, gloves, shovel and trash can. Use the shovel to toss any dirt the flood left behind into the trash can to carry out of your home. You can either dump it into your yard or into a dirt dumpster for disposal.

Pro Tip
Remember that wet dirt and mud can be extremely heavy. Fill your trash can about half full so you can comfortably move the dirt outside without the pain of heavy lifting.
2. Dispose of Items Damaged Beyond Repair
Unfortunately, not everything can be saved after a flood hits your home. Due to the risk of mold or mildew, most upholstered furniture will need to be tossed in your dumpster, along with any mattresses, box springs and pillows.
Wood furniture may be salvageable, depending on how high the water raised and how long the water stood. Check your wood furniture to see if it was structurally weakened by the water. If so, it should be thrown out as well.
3. Set Up A Dry-Out Zone for Salvageable Items
Set up an area in an unaffected part of your home — or outside — where salvageable items can dry. Use an approved furniture cleaner and a clean cloth to wipe down each piece thoroughly. Once they have been cleaned, set them in your designated zone to dry and wait until the rest of your flood cleanup is complete.
All contaminated curtains should be taken down, washed and bleached (if possible) to disinfect them from polluted flood water. Rugs and other items may need to be sent to a professional cleaner. If they have been ripped or you want to avoid the hassle of finding a reputable cleaning service, you can toss rugs and carpets in your dumpster.
4. Tear Out Damaged Flooring
Carpeted floors often can’t be cleaned after a flood. Water soaks quickly down to the carpet pad, and can damage your subfloor if not removed quickly. Wood or laminate floors that are warped should also be torn up and tossed.
Depending on which flooring type you have you’ll need to follow one of the following sets of instructions.
How To Tear Out Carpet:
- Use pliers to grab carpet around the edges of the room and pull it away from the subfloor. You can also use a pry bar if pliers aren't getting the job done.
- Cut the carpet into manageable pieces using a utility knife.
- Remove carpet padding by gently pulling it off of the subfloor.
- Pry up carpet tack strips and staples using a hammer, pry bar and pliers.
For more in-depth instructions, check out our guide to removing carpet.
How To Tear Out Wood or Laminate Flooring:
- Saw floor boards into small sections no more than three feet wide. Be careful not to cut too deep or you can score into the subfloor.
- Pry up boards using the pry bar.
- Remove any nails and staples used to secure flooring to the subfloor.
- Inspect your subfloor for any damage your subfloor for any damage or structural issues. It’s always best to call in a professional if you suspect there’s a problem.
5. Check Walls for Bubbles and Soft Spots
Take a look at your walls to see if there are any bubbles or soft areas from water damage.

“Salvaging drywall after a flood takes time and equipment. I recommend starting with a moisture meter so that you don’t overlook any hidden dampness. Set up heavy-duty fans and a large dehumidifier and seal the area as tightly as possible. To speed up the drying process, pull off baseboards and trim, drill holes and run the equipment for three days.”
After three days have passed, Zaba recommends checking the walls again with a moisture meter. “If readings stay in the meter’s green zone, prep affected areas with an alcohol or oil-based primer and repaint your walls.”
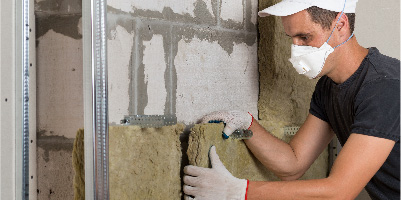
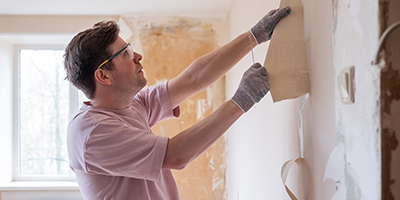
If only small sections of your walls are damaged, you may be able to cut away the affected areas and salvage the rest. Depending on the age of your home, you may have plaster walls instead of drywall. Follow these instructions to remove sections of each kind of wall as a part of your flood cleanup.
How To Remove Parts of a Plaster Wall:
- Mark the area with a pencil so you know exactly where to work.
- Turn off electricity to the area at your breaker or fuse box.
- Use a hammer to hit the plaster until it cracks and begins to crumble.
- Continue until the entire section is removed.
- If the lath underneath shows signs of damage, remove it using a pry bar to lift under each lath strip and pull them away from the studs.
- Remove nails from the wall studs and throw them away so you don't accidentally step on one.
Use our detailed plaster removal guide for more tips.
How To Remove Sections of Drywall:
- Mark the affected area with a pencil. Use a level to mark straight lines. Use a stud finder to mark any studs within the area.
- Cut across your marked lines with a drywall knife, being careful to stop at any studs.
- Use a putty knife to pry the affected section away from the remaining parts of the wall.
Find more key information in our how to tear down a wall guide.

Safety Tip
If walls have water spots near electrical units, call an electrician to check that there are no hazards or wiring issues.
6. Clean and Disinfect All Surfaces
One of the most important steps in cleaning up after a flood includes disinfecting and wiping down everything in the affected room(s). Dilute two tablespoons of bleach with one to two gallons of water in a bucket to wash down walls and prevent mold growth. Be careful not to over saturate the surface: use a stiff-bristled brush or wring out your towel before each use.
If there is mud or dirt on the walls, don’t sweep it up dry. Dust left behind from a flood can contain harmful bacteria. Instead, mist down the area and collect the residue with a wet/dry shop vacuum.

Pro Tip
Do not mix bleach with any other disinfectant or cleaning supplies. This can cause a dangerous chemical reaction. Stick to using one at a time.
7. Keep the Area Properly Ventilated
Before you bring any items back into the house, ventilate the clean room. Keep windows and doors open if possible and run fans to ensure everything dries thoroughly.
Continue to Repair the Damage
Once your home has been properly cleaned out after a flood, it’s time to bring in a professional to assist with the repairs. Unless you’re an experienced DIYer, a general contractor should handle installing new flooring and walls or inspecting for structural damages. You’ve done the heavy lifting of your flood cleanup, so let the pros take it from here.
Expert Contributors

Diana Rodriguez-Zaba
Diana is project manager for ServiceMaster Restoration by Zaba, a locally-run business serving the greater Chicago area. She is known best for her position as one of 40 founders of the Women’s Entrepreneurship Institute in the Coleman Center at DePaul University. Diana has accomplished so much already and has her sights set on remodeling a facility that will showcase all their services — disaster restoration, fire contents cleaning, residential services, construction design and entrepreneurship.
What Do You Think?
Cleaning up after a disaster? We're listening. Head over to Twitter or Facebook,
and use #dumpstersblog to join the conversation.


