Convert Your Tub Into a Walk-in Shower
Whether it’s for resale value or your own tastes, upgrading a tub to a shower is a great way to refresh any bathroom.
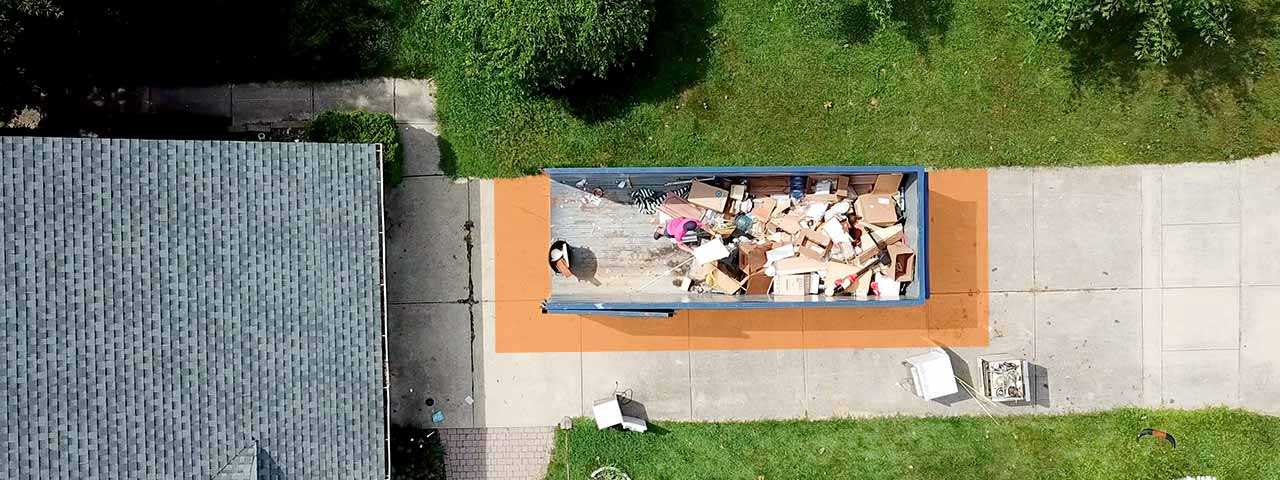
Make cleanup a breeze with a roll off dumpster:
How to Remove a Bathtub and Install a Shower
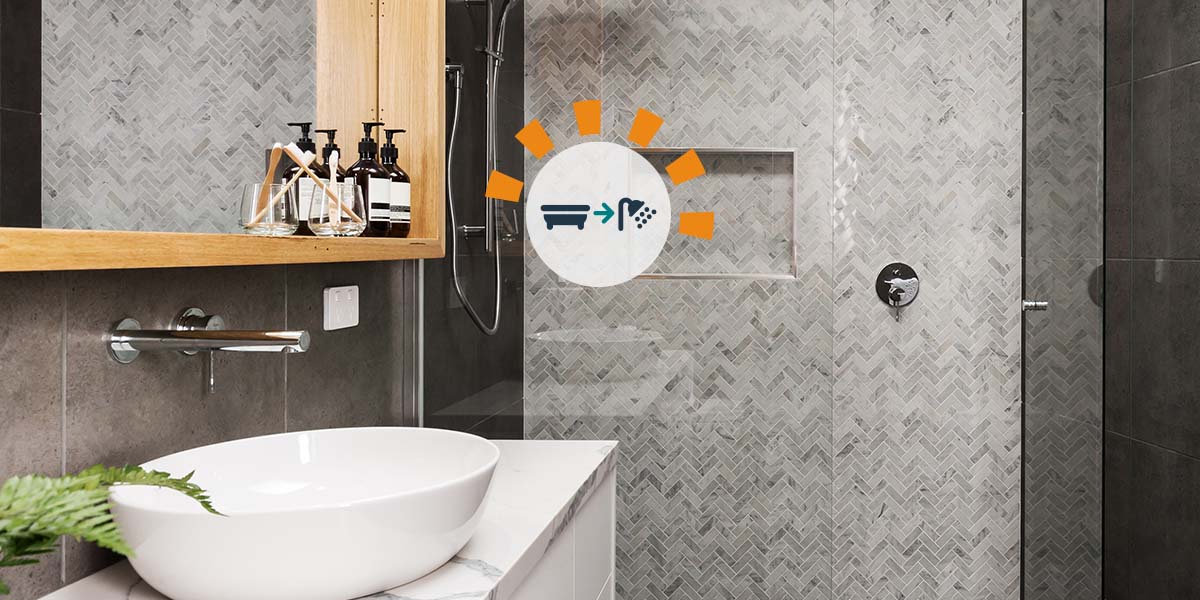
Converting your tub into a shower transforms a cramped bathroom into a more spacious, modern area. The easiest way to complete this job is with a DIY conversion kit. We'll walk you through how to take measurements, pick a model kit and handle demolition for your shower conversion.
And if you've been thinking about shower conversion for a while, you're not the only one. The American Institute of Architects conducted a Home Trends Survey that showed 58% of homeowners prefer a walk-in shower instead of a bathtub. So, converting your tub to a shower is a way to potentially increase your home's resale value.
Feeling confident in your DIY skillset? Read on to find out how to convert your bathtub into a shower yourself. If not, you may want to hire a contractor to handle the project.
Shower Conversion FAQs
How much does it cost to change a bathtub to a shower?
The cost to convert your bathtub into a walk-in shower ranges from $1,200 to $8,000. This cost depends on the size of the area, fixtures you select and other features you may add.
Should I rent a dumpster for my bathtub to shower conversion?
A roll off dumpster is the perfect solution for your bathtub to shower conversion. A major bathroom conversion will create heavy debris, which curbside collection most likely will not take. With a dumpster, you can simply toss the debris as you work to get rid of the clutter.
Ready to get a dumpster? Place your order online today.
How long does it take to replace a tub with a shower?
The amount of time to replace a tub with a shower depends on a variety of factors. Some contractors complete this job in one or two days but expect the project to take longer if you plan on doing it yourself.
Does replacing a tub with a shower lower home value?
Homes with bathtubs tend to sell for more money. This is because bathtubs are more expensive to install when compared to showers, and families with children tend to favor bathtubs over showers. Keep in mind this depends on your location and if you already have more than one bathtub in the home.
Order a Dumpster Online
Shopping after hours? Too busy to make another call? Book the dumpster you need, when you need it. Order your dumpster online 24/7.
How to DIY a Tub-to-Shower Renovation
1. Decide if a Walk-in Shower Is the Best Option
If you are getting rid of the only tub in your house — and have plans to sell your home in the near future — most realtors would advise against this project. According to Realtor Magazine, most homeowners want at least one tub in the home, especially if they have small children.


2. Set Your Budget
The overall cost of your tub-to-shower conversion will depend on what kit you buy. Shower conversion kits are the easiest option for a DIYer to install and they contain all the items necessary to build a shower floor slope, including the curb, guards and shower pan liner. Kits range in price from about $200 to $2,000 depending on what style you want. You’ll also need to budget for a liner, hardware and any new tile and grout you’ll need.
If you have leftover tile from a previous homeowner or builder, you can save on this material cost. But if you need to purchase new tile for the shower, it’s important to set a realistic budget. Here are the standard costs for common shower tiles.
Types of Shower Tiles and Cost Breakdown
Ceramic and porcelain | $7 to $45 per square foot |
Granite | $3.50 to $7 per square foot |
Vinyl | $2 to $4 per square foot |
Limestone | $9 to $27 per square foot |
Exact pricing for each tile type will depend on the color and finish you choose, but setting your budget for materials now will help you rule out options outside your price range and make planning easier.
3. Choose a Curbed or Curbless Shower Model
Most shower conversion kits come in either a curbed or curbless model. Here’s how to decide between the two options.
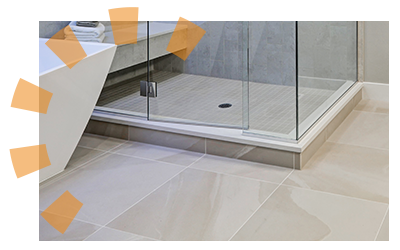
- Curbed: These have a shower pan with a low barrier that completely encloses the space. This helps keep water inside of the shower, but you will still have something to step over when entering.
- Curbless: This model sits flush with the floor. Getting the shower pan to that level can make the installation more difficult, and typically more expensive.
4. Take Correct Measurements for Your New Shower
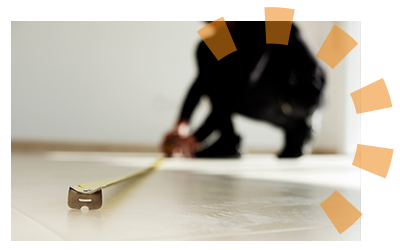
Before you start any demolition work, take some measurements to make sure your tub-to-shower conversion plans are up to code.
- The shower stall needs to be at least 30 inches x 30 inches. The National Kitchen and Bath Association recommends building the stall at least 36 inches x 36 inches, but most building codes will accept the former.
- Finished ceiling height should be at least 80 inches.
- The distance from the side of the toilet to the shower wall should be at least 15 inches, but 18 inches is ideal.
- The shower door swing can vary based on the size of your bathroom, but measure the distance between the vanity and future shower to avoid issues. If you’ve chosen a sliding door or a curtain, this measurement isn’t necessary.
5. Gather Your Tools
Once you’ve decided on a shower type and purchased the necessary kit and materials, it’s time to grab the tools you’ll need to pull off the job.
Tub-to-Shower Conversion Tools and Equipment:
- Allen wrench and screwdriver
- Drywall saw or reciprocating saw if you have plaster walls
- Gloves and protective eyewear
- Jigsaw
- Metal putty knife and utility knife
- Plywood
- Prybar
- Roll off dumpster

Need a dumpster to handle the mess?
Get a Price and Place Your Order Give Us a Call to Learn More
6. Remove Old Tile and Any Necessary Drywall
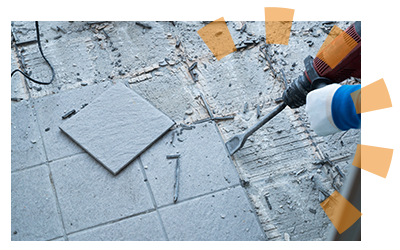
Before you can tear out your tub, you’ll need to remove the old tile and drywall around it.
- Shut off the water to your bathroom.
- Lay plywood on the bathroom floor to prevent damage.
- Remove hardware, like the drain covers and faucet knobs.
- Loosen any screws and pull the faucet.
- Score tile grout with a utility knife, then pry tiles off using a metal putty knife. You’ll need to go about 8 inches above the tub for removal but if you plan on re-tiling your new shower, start at the top of the wall and move towards the bottom.
- Cut through drywall or plaster using a saw. Cut through drywall or plaster using a saw, but be careful not to cut too deeply as you may hit a stud.
- From the access panel behind your tub (or in the basement) disconnect the main and overflow drains.
7. Get Rid of Your Tub
Now that you’ve taken down the tile and hardware, and shut off the water supply, it’s time to tear out your old bathtub.
- Remove any nails or screws that hold your tub in place.
- Cut through caulk on the floor using a utility knife.
- Inch your tub away from the wall using a pry bar.
- Cut your tub in half using a saw if you have narrow doorways. Removing your tub in one piece may require help.
- Pry each piece up individually and take it to the dumpster.
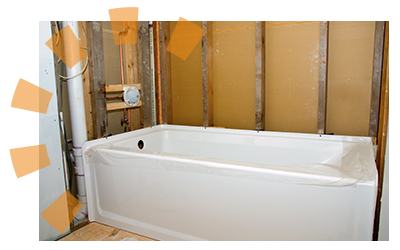

Pro Tip
You can leave your tub in one piece for removal, but always measure first to make sure it will fit through your doorway.
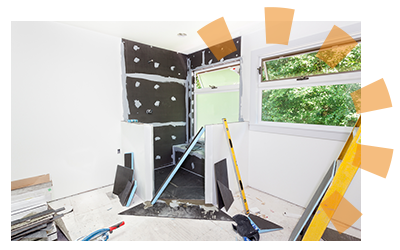
8. Install Your Walk-in Shower
Now that your tub is gone, it’s time to complete your shower conversion by following the instructions on your shower kit. Most include access to an online video to walk you through the process step-by-step.
Start the Next Project in Your Bathroom Renovation
Now that you have a brand-new shower, it’s time to take a look at your vanity, countertops and floor. Check out our guide to demolishing your bathroom to kick-off your next remodeling project and our tips on how to complete the job on a budget.
Other Sources
AIA Home Design Trends Survey. (2021, March 12). Retrieved from The American Institute of Architects
This Old House Team, How Much Does It Cost To Install Tile Flooring? (2023, February 3). Retrieved from This Old House
Ballinger, Just How Important Is a Bathtub for Resale? (2018, February 2). Retrieved from Realtor Magazine
What Do You Think?
Have thoughts on your bathroom makeover? We want to hear about it. Head over to Twitter or Facebook,
and use #dumpstersblog to join the conversation.


