Tear Out Your Bathroom Sink and Vanity
Has your outdated vanity become a total eyesore? Take it out yourself with this 7-step guide.
Make cleanup a breeze with a roll off dumpster:
DIY Bathroom Vanity Removal
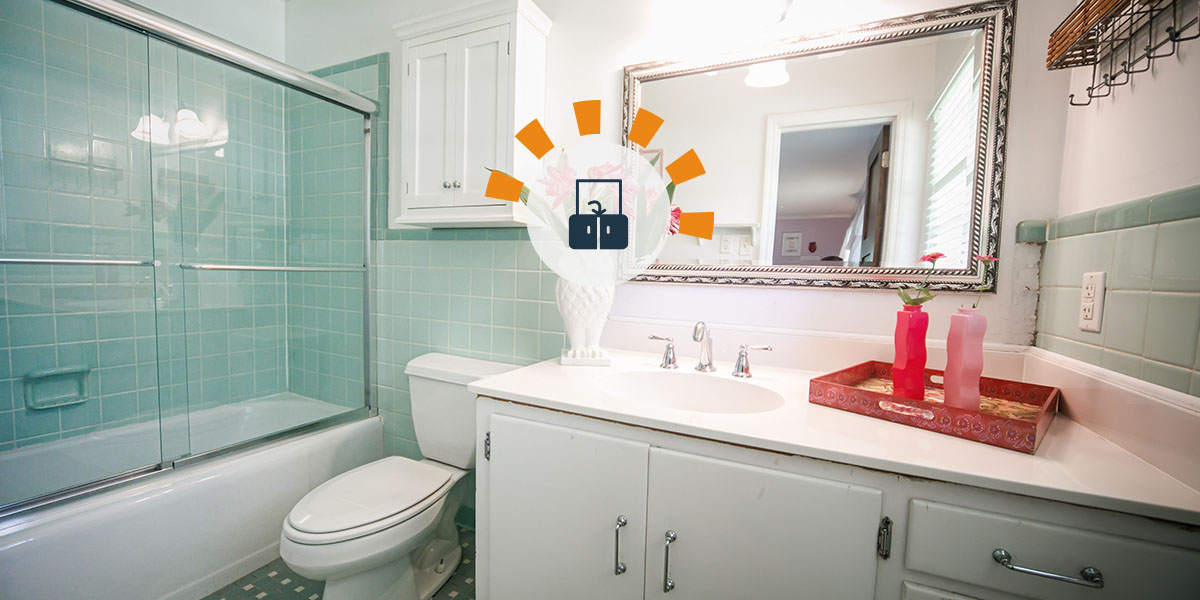
Whether your vanity is cursed with too little counter space, suffers from cramped storage or is still begging for mint green tile to come back in style, replacing it is probably in your bathroom remodeling plans. Removing a sink is simple enough for someone with a little DIY savvy but to make sure everything goes according to plan, we broke it down step-by-step.
Vanity Removal FAQs
Would a dumpster help with my vanity removal?
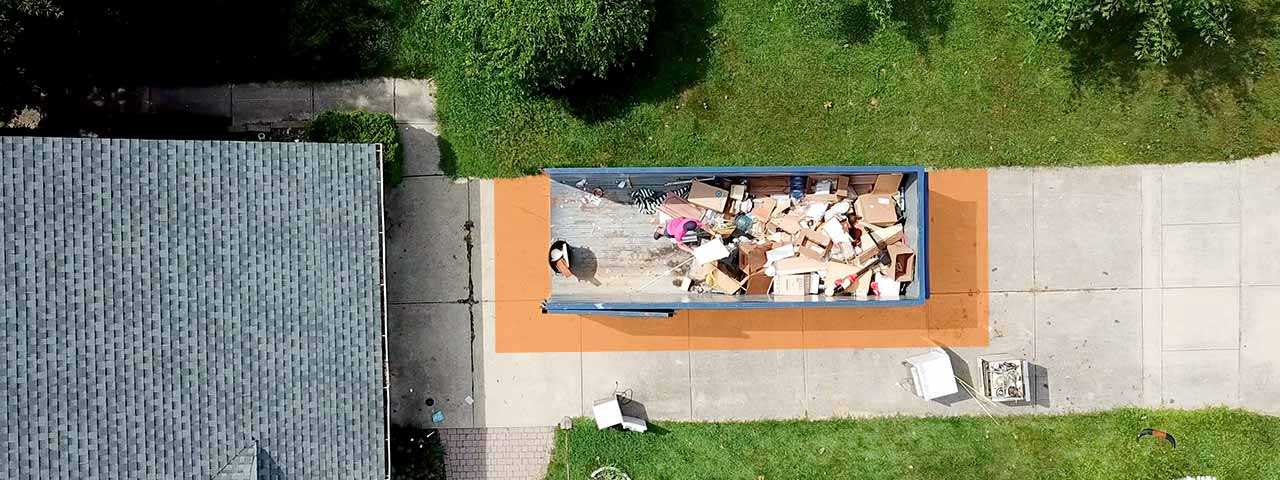
Yes. A vanity removal project produces a lot of debris, all of which needs to be removed before your bathroom is fully functional again. A roll off dumpster allows you to toss it all at the same time, letting you keep working without pauses.
Ready to get a dumpster? Place your order online today.
How are vanity tops attached?
Glue or brackets are the two most popular styles of installation. If yours is glued, use your utility knife to cut the caulk off the backsplash and wall first so you don't damage your cabinets.
If your countertop is glued and adhered to the wall by brackets, scrape away the caulk and take out the screws before removing.
How much does it cost to remove and replace a vanity?
The average price for vanity removal is $115-500.
The average price for replacing a vanity varies from $300 to $3,800.
The main factors that drive the price up are size and countertop material. The larger the surface area and the heavier the material — not to mention type — the higher the price a contractor charges for installation.
How long does it take to remove a vanity?
The average person can remove and replace a vanity in 2-6 hours. If you're a DIY newbie, clear out about half a day to be safe.
How hard is it to change out a bathroom vanity?
It isn't hard to remove a vanity — it can be done by anyone with the right tools and abilities. It is time consuming though, so plan for about a day to change out a vanity yourself.
Order a Dumpster Online
Shopping after hours? Too busy to make another call? Book the dumpster you need, when you need it. Order your dumpster online 24/7.
Removing a Bathroom Sink and Vanity in 7 Steps
1. Preparing for Your Vanity Tear-Out
Before you start replacing your bathroom vanity, you need to plan for debris removal.
Most sinks and vanities can be donated or resold if you're careful. Free-standing vanities are easier because they don't require a complicated removal process — if you have a wall-mounted version, you can typically salvage the entire piece.
Here are a few stores that will accept vanity donations:
On the other hand, it may be best to toss your vanity if it's damaged. However, most curbside collection companies will not take construction debris. With all of the leftover hardware and bulky items that come from remodeling cleanup, renting a small 10 or 15 yard dumpster will do the trick for all of your construction debris.
Check out the tools and safety gear you'll need to remove a bathroom vanity:
Tools | Safety Gear |
|---|---|
Adjustable wrench | Safety goggles |
Chisel | Work gloves |
Hammer | Long-sleeved shirt |
Bucket | Pants |
Heavy-duty packing tape | Knee pads |
Shackling compound | Face mask |
Wood shims | Boots |
Shop-vac | |
Putty or utility knife |
Need a dumpster to handle the mess?
Get a Price and Place Your Order Give Us a Call to Learn More
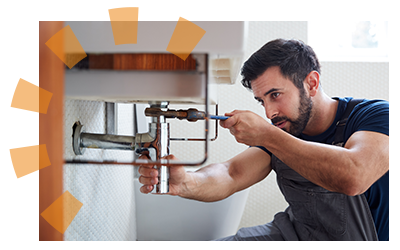
2. Detach Your Plumbing
Here are the basic steps to remove your plumbing fixtures:
- Shut off the main water valve, which is located either in your basement or on an outside wall in a utility area of your home.
- Remove your drain stopper. Keep in mind that the exact process depends on what type you have. Click a stopper type below for a helpful description to determine what you may have.
- Place a bucket under the sink drain and P-trap.
- Use an adjustable wrench to unscrew the nuts around the pipe.
- Unscrew and detach the nuts that connect the sink's water supply lines where they come through the wall.
How to Remove Different Types of Drain Stoppers
Lift-and-Turn Drain
- Unscrew the drain stopper knob.
- Loosen and remove the drain stopper bolt with a screwdriver or pliers.
- Lift the stopper off the drain and replace if damaged.
Push-and-Pull Drain
- Unscrew the drain stopper knob.
- Rotate the entire drain stopper counterclockwise to unfasten the bolt from the crossbar.
- Slip a screwdriver underneath and lift up the drain stopper.
Toe-Touch Drain
- Push the stopper down to open it.
- Twist the whole top counterclockwise and lift the lid to access the fastening screw.
- Release the fastening screw with pliers.
Flip-It Drain
- Flip the lever to open the drain.
- Apply pressure and twist.
- Remove the entire assembly out of the drain.
Trip-Lever Drain
- Flip the lever on the drain to open it.
- Use a screwdriver to remove screws and unhinge the drain stopper.
- Lift the trip-lever drain assembly out from of the drainpipe. Use lubricant as needed.
Pop-Up Drain
- Flip lever on overflow faceplate.
- Pinch the sides of the drain stopper, then pull straight up and out of the drain.
- Unscrew the overflow faceplate and remove assembly. Use lubricant if it doesn't come out freely.
3. Take Down Bathroom Mirror
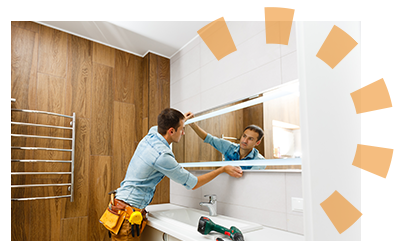
When demolishing your bathroom, you have to work in reverse order. So, the last thing installed should be the first to go.
- Begin by covering the mirror with packing tape to help prevent cracks.
- If your mirror is screwed to the wall, use a screwdriver to loosen and remove the screws.
- For mirrors adhered to the wall, start at the top and gently begin working the pry bar behind the glass. To protect your wall, slide a wood shim beneath a pry bar as you apply pressure.
- Work your way around the mirror while supporting the top to prevent it from falling.
Once the mirror is loose, carefully carry it out of the bathroom.
4. Take Down Backsplash and Wall Tile
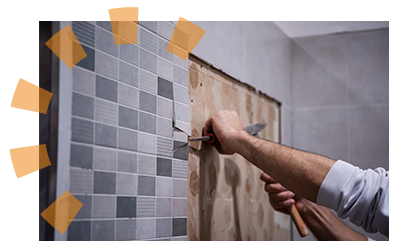
Now that the mirror is gone, it's time to tackle your tile and backsplash. Follow these steps to safely remove your wall tile.
- Start at a top corner of your backsplash and break up one tile at a time, using a chisel to pry it from the wall.
- Work in a horizontal line along the top section of your backsplash, inserting the chisel carefully under each tile and using the hammer to help pop the piece loose.
- Continue this process until all the tile has been removed.
5. Remove Your Bathroom Sink and Hardware
Note: If your bathroom sink and vanity top are one piece, skip down to the next step.
Once you've cleared up the debris from the backsplash removal, it's time to start work on the vanity itself.
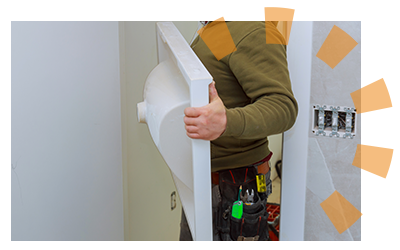
First, you'll need to remove any clips that fasten the sink to your vanity's countertop, then cut away any sealant and caulk with a utility knife.
Next, carefully lift the sink straight up from the counter. Sinks can be extremely heavy — if you aren't sure you can manage the task by yourself, grab a helping hand.
6. Remove the Vanity Top
With the sink gone, removing a vanity top is a pretty straightforward process:
- Break the caulking seal that's attaching the back of the vanity top to the wall.
- Unscrew the countertop from the vanity cabinets.
- Cut through any caulk between the vanity top and cabinets.
- Lift the vanity top free from the cabinets below.
7. Detach Your Vanity from the Wall
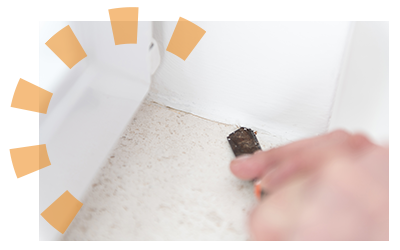
Your cabinet is likely attached to the wall with screws in the back. So, you'll need to unscrew those before anything else. Built-in and wall-mounted vanities often have caulk adhering them to the drywall and floor. After removing the screws, use your putty knife to cut through the caulk and slowly pry your vanity away from the wall.
What Will Replace Your Old Vanity?
Now that your vanity is gone, what's next? Read more of our bathroom renovation tutorials to complete the rest of the job.
Other Sources
How Much Does It Cost to Install a Bathroom Vanity? (2022, June 16). Retrieved from HomeAdvisor.com
How to Remove 6 Different Kinds of Drain Stoppers (2022, April 21). Retrieved from TheSpruce.com
What Do You Think?
Replacing your outdated vanity? Tell us about it. Head over to Twitter or Facebook,
and use #dumpstersblog to join the conversation.


