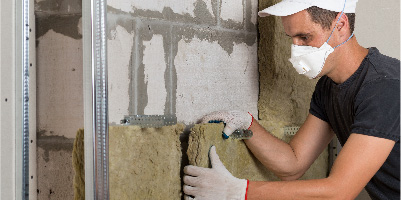
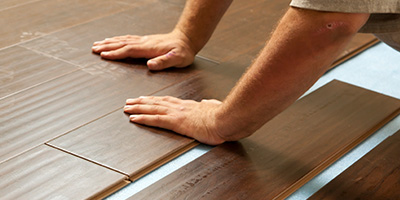
How to Insulate an Attic (and DIY Mistakes to Avoid)
Attic insulation is a no-brainer when it comes to saving money. Follow this easy guide to get the job done.
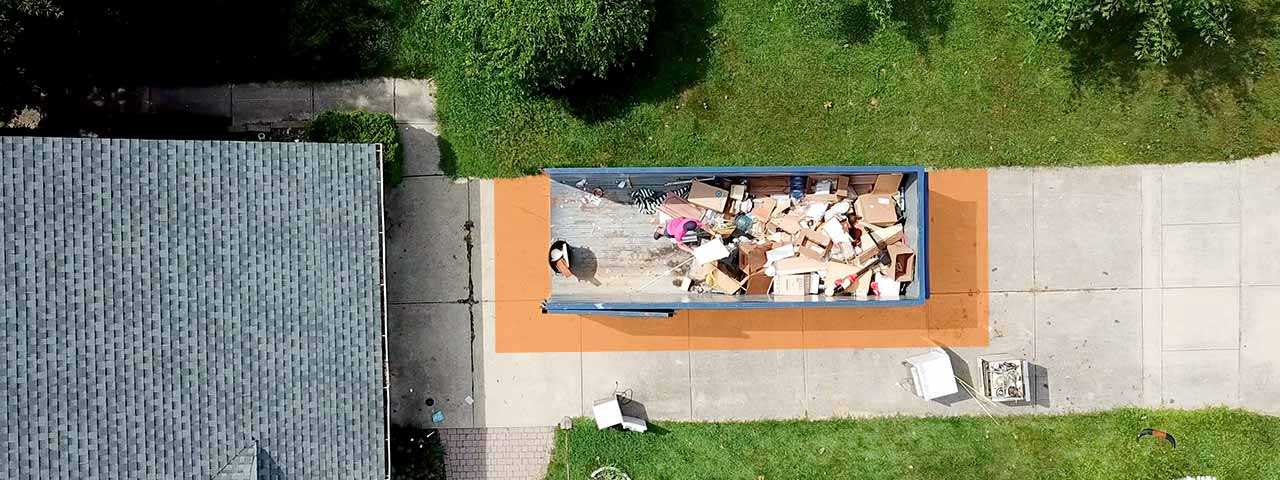
Make cleanup a breeze with a roll off dumpster:
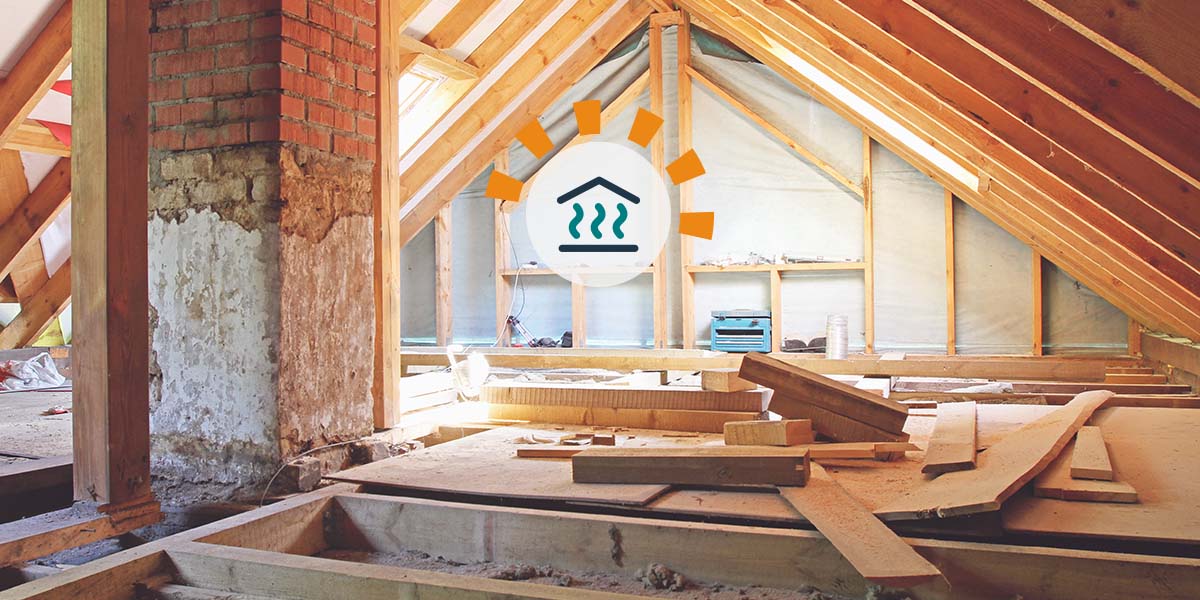
Insulate an Attic to Help Reduce Energy Costs
Let's be honest: your attic isn't the most popular room in the house. If you're neglecting your attic or crawlspace, you're not the only one. 90% of attics are under insulated, which is costing you an average $200 each year.
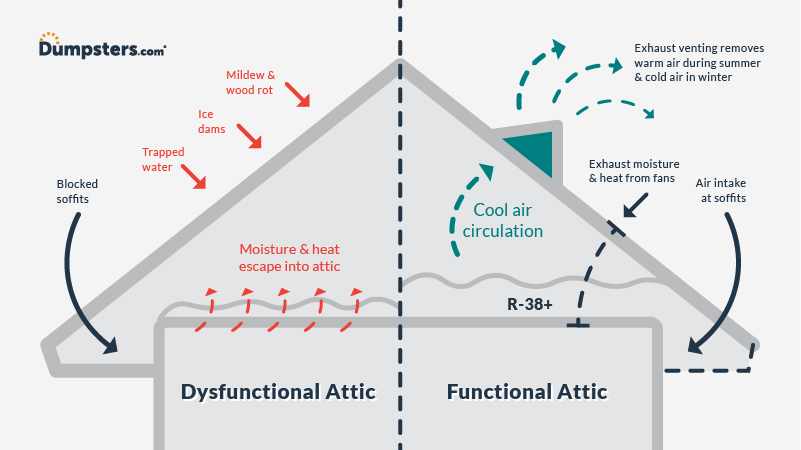
Attic insulation traps precious heat in the winter and cool air in the summer, prolongs the life of your roof, reduces your energy bill and even improves air quality.
Fortunately, you can rectify the situation by installing insulation yourself in this DIY guide that should take about a day to complete, contingent on the size of your attic and pre-existing insulation material.
Attic Insulation FAQs
Is a roll off dumspter needed for attic insulation?
Due to the non-standardized nature of attics, there's bound to be scraps of extra insulation as you complete your project. Having a dumpster nearby makes it easy to keep the confined space of an attic clear of unneeded debris so you can get the job done faster.
Ready to rent a dumpster? Order online today.
How much does it cost to insulate an attic?
The average cost of attic insulation is typically $1-$7 per square foot. That’s an average of $1,500, including labor and materials. Costs can be as low as $500 for smaller attics and cost up to $4,000 for larger attics.
Insulating your attic yourself will save you approximately $440-680 on labor costs.
How much insulation do I need?
Pre-Cut Batts or Rolls: To determine the number of precut batts or rolls you need, take your attic’s square footage and divide it by the square footage of insulation in the manufacturer's packaging.
Loose-Fill or Cellulose: For loose-fill or cellulose, divide your attic’s square footage by 1,000 sq. ft. Then, take that number and multiply the desired R-value to get the number of bags required. (Make sure you round up.) Don’t skimp on insulation or all your work could be rendered useless.
Is it better to insulate the attic floor or rafters?
It’s better to insulate your attic floor, especially if you’re on a budget or you have a large attic to insulate. It’s up to you if you want to dedicate more time and money to insulating the rafters too, but it isn’t necessary to reap the benefits.
What R-value is best for cold vs. warm climate?
Cold climate: R-49
Moderate climate: R-38
Warm climate: R-25
Order a Dumpster Online
Shopping after hours? Too busy to make another call? Book the dumpster you need, when you need it. Order your dumpster online 24/7.
Should You Insulate Your Attic? (15 Reasons Why It’s a Good Idea)
- Stop water vapor from seeping in and eroding walls.
- Prevent gradual harm caused by moisture and mold accumulation.
- Slow down heat buildup, which causes shingles on roof to swell, then crack.
- Put a stop to water ice dams and frozen pipes.
- Deter pest invasions.
- 25% of heat escapes through the attic, costing you a small fortune in bills.
- Shave off 10-20% of energy bill each month.
- Cut electricity use by approximately 5% and natural gas by over 10%.
- Traps cool air in your home during summer months.
- Helps prevent money pits like roof repair and pest control.
- Up to 116% return on investment.
- Improves air quality.
- Noise reduction.
- Prolongs roof life.
- Reduces carbon footprint.

Safety Tip
Is your home built before 1990? It's highly likely you have vermiculite insulation that contains asbestos so don't move it. You must have a professional contractor handle its disposal.
Follow These 5 Attic Insulation Steps
There’s a variety of insulation materials on the market. The type you choose depends on a number of factors such as attic size, climate and if you’re working with pre-existing material or not.
This guide focuses on the two most popular choices: Fiberglass batt (blankets) and loose-fill (cellulose or blown-in.)
Fiberglass batt insulation comes precut or in rolls with vapor barriers made of paper and are fire resistant. Loose-fill is made out of a combination of fiberglass, cellulose and minerals to form a recycled cocktail. Both materials contain 40-60% glass, which is why wearing safety gear while handling and installing is so important.
Step 1: Acquire Materials
Tool and Supply List
TOOLS | SUPPLIES |
|---|---|
Tape measure | Dust mask |
Ruler | Goggles |
Flashlight | Work gloves |
Utility knife | Long-sleeve shirt |
Caulk gun | Long pants |
Box cutter | Foam sealant |
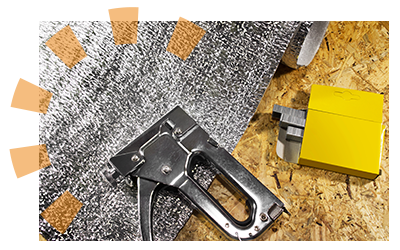
Staple gun | Fire-blocking caulk |
Rake | Cellulose (loose-fill) bags |
Permanent Marker | Rigid insulation |
Notepad | Fiberglass batts or blankets |
Hardware cloth (optional) | 13-gallon garbage bag |
Blower machine (optional) | Plywood access panel |
Battery-operated lantern (optional) | Aluminum flashing |
Self-adhesive weather stripping | |
Insulated tent (optional) |
Need a dumpster to handle the mess?
Get a Price and Place Your Order Give Us a Call to Learn More
Plan on Storing Items in Your Attic?
Storage and attic insulation don’t mix. That is, you shouldn’t store items directly on top of insulation (no matter the type), including boxes or household furniture of significant weight. Insulation shouldn’t be compressed because it will lose up to half of its insulation capability.
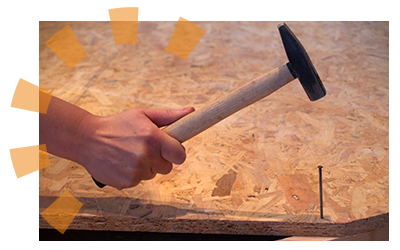
Now, this isn’t to say you can’t store anything in your attic once you insulate it correctly. Here’s what you need to build a simple platform that won’t negatively impact your insulation efforts:
- Hammer
- 7 1/16th oriented strand board
- 2 x 10 wooden boards
Prepare the Attic
Clear your attic of any boxes or storage items. You're going to need an empty space to work in. Next, grab a pen and notepad — it's helpful to draw a basic outline of your attic and mark it as you actively check for air leaks.
Too Much Attic Junk? Rent a Dumpster
Step 2: Seal Air Leaks
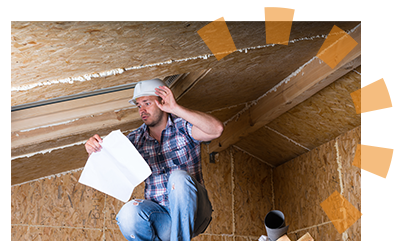
- Take inventory of the biggest gaps in your attic. Focus only on those holes as that will get you the biggest savings.
- Frequent air leaks occur around windows, wiring holes, pipes, exhaust fans, ducts, recessed lighting, dropped soffits and furnace flues.

Keep in Mind
Make note of a walkway and where you’ll be insulating. Always start in the furthest corner of the attic to prevent barricading yourself in.
- Cut a 16-inch piece out of your batt and fold it over.
- Place it into the bottom of a 13-gallon garbage bag to create a vapor barrier.
- Now, fold it over the bag and stuff it into the open stud cavity of any dropped soffit vents.
- Cover with aluminum flashing and seal in place by caulking the sides.

Pro Tip
It’s very important that you leave external soffit vents (installed under eaves of the roof) free-of any blockage to allow fresh air to enter into an attic, which creates necessary air flow.
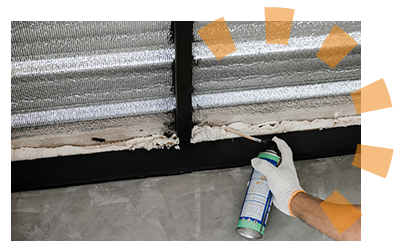
- Repeat steps 1-3 as needed. You will cover these areas with insulation later.
- Caulk around windows, doors or gaps using fire blocking caulk or foam sealant.
- Have a hatch instead? Seal around stair frame and opening using this same method.
- For chimneys and flues, apply precut aluminum flashing and seal in place with caulk.

Safety Tip
Use hardware cloth to create a 3-inch safety gap around all light fixtures.
Already Have Existing Insulation? Start Here.
- Measure current R-Value with tape measure or ruler (approximately 6 inches equal R-19). Note how much loose-fill insulation you’re going to need to bring that value up to 38+ and to cover joists.
- Take your tape measure and hook it to the outside of the wall joist and measure to the inside of joist to get the length.
- For the width, you’ll measure the same way but subtract ½-inch less than the center measurement. This is for the batt insulation you’ll apply later.
Step 3: Cut Insulation
- Hook your tape measure to the furthest point of your wall joist, then measure length-wise to the inside point of the other joist to get your first measurement.
- Cut batt 1-inch less than center measurement. For example: 12-inch gap between joists means you’ll cut your batt to 11 inches.
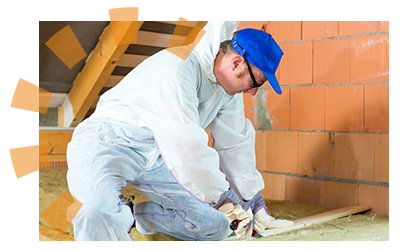
- Use your permanent marker to mark the batt where you’ll cut it. Then, use your hand to compress the insulation down and cut out each section with a utility knife or box cutter.
- Make sure you’re cutting double the amount for the second layer. Repeat until you have all your insulation ready to install.

Keep in Mind
Certain fiberglass batt is sold with perforated edges so you can tear it off.
Step 4: Install Insulation
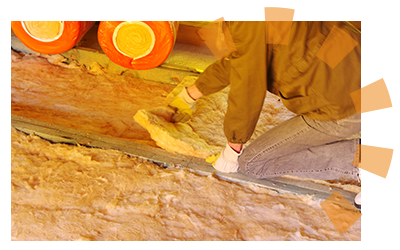
Installing insulation isn't so much labor-intensive as it is a technical process. There are a few things that can go wrong here so be sure to follow the directions closely, otherwise you could end up with a soggy mess from trapped moisture, or an under-insulated attic because you've packed your insulation in too tightly or left gaps.
Fiberglass Batt or Blanket
- Take a section of batt you cut and turn it over so the vapor barrier faces down. Install it with paper side to the attic floor. Stuff tightly between joists.
- Repeat all around the attic.
- Next, you’re going to apply the second layer. However, this time you’re going to remove the vapor barrier before application.
- Once the vapor barrier is removed, lay each section perpendicular to the first layer. This way, all your joists will be covered. Repeat around attic.

Pro Tip
Do not cover soffit vent(s). Your attic needs ventilation, otherwise moisture and mold will build up under the insulation.
Optional:
To help speed things up, you might consider renting a blower machine. Here are two quick steps to keep in mind:
- Remove necessary plank boards to blow loose-fill insulation under floor with hose from a blower machine.
- Measure ¾-inch distance into bay, then turn the blower on. Blow insulation into cavity. Hose will naturally push back as it’s being packed in, which is how you know it’s time to move to the next section. Repeat until finished.

Pro Tip
Blowing loose-fill after securing fiberglass batt means dealing with less dust.
To avoid taking multiple trips to the store, make sure you calculate how many bags of insulation you'll need. Keep in mind that it's better to have too much than too little, and remember vapor barriers should always be removed between layers.
Cellulose (Loose-Fill)
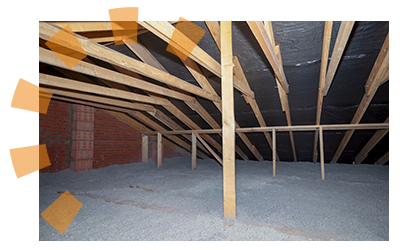
- Dump out cellulose insulation strategically around the attic and rake it around until it’s level, similar to how you’d spread mulch. Add enough that covers the top of your joists.
- Now take your fiberglass batt. Mark where you’re going to cut with your permanent marker. You’ll use the width measurement between your joists as point-of-reference between sections.
- Cut using your utility knife or boxcutter, or use pre-measured perforated batting and tear at seams.
- Align with the joists length-wise and install with the vapor-barrier removed.
- Apply all around attic, then start laying your 2nd layer perpendicular to joist. Pack tightly.

Keep in Mind
Use a 2 x 10 wooden frame to create platform that you’ll use to set storage on later. Rest it across the joists before adding second layer of insulation. Fill in gaps with fiberglass batt. Hammer your oriented strand board on top.
Step 5: Final Touches
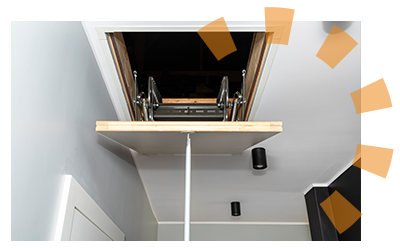
It’s important that you don’t neglect your attic entrance, whether that’s a typical door, or a hatch with a ladder or stairs. Just like in step one, this opening is another big hole that needs insulation. If you don’t properly seal it, you may miss out on the cost savings you’re hoping to see on your energy bill.
How to Insulate an Attic Door
- Take precut rigid foam boards and install them against the attic side of the hatch with adhesive caulk. Make sure there are thick beads on the ends and multiple zig-zag beads that cross the center.
- Line up the board with the edges of the attic door and press the foam board onto the caulk. Allow it to dry.
How to Insulate Attic Stairs
There are two ways to insulate your attic stairs yourself. The first requires a little more work, but is usually more cost-effective.
Harder but cost-effective method:
- Remove old weatherstripping, if there is any, then measure and cut along the bottom edge of the trim.
- Install a gasket around attic access opening.
- Apply the self-adhesive weatherstripping until it fits snuggly on all four sides.
- Take your plywood cut-to-fit your attic opening and staple fiberglass batt to attic-facing side
- Attach a hook-and-eye fastener to the gasket that compresses when you latch the hook.
Easier but expensive method:
The second option to insulate your attic stairs is to purchase an insulated zippered tent cover. You’ll just need to measure to find the right size to cover the gap, then install by stapling around the edges with a staple gun.
Top 10 DIY Insulation Mistakes to Avoid
Nobody wants all their hard work to go to waste, or even worse, to get hurt during the project. Here are the most common mistakes DIYers run into when insulating their attic.
Neglecting to seal air leaks.
Not spreading and tucking insulation out to all the edges.
Covering up ventilation or restricting airflow.
Compressing insulation by walking on it or storing items directly on top.
Using incorrect materials or installing them improperly (keeping vapor sheet attached between batt layers, for example).
Stepping through the ceiling. Plant your feet on the joists, not the attic floor.
Using too much fiberglass material, which can restrict airflow between layers and render the insulation ineffective.
Removing old insulation that may contain asbestos, especially if your home was built before 1990.
Not replacing non-IC rated canned lights, which don't always switch off when overheated.
Neglecting to insulate and seal the attic door or hatch.
Now That You've Insulated Your Attic
What are you going to do with the extra money you’ll be saving each month on energy bills? Consider other projects around your home, especially if you have leftover insulation material. Affixing insulation to the attic rafters, creating joist risers and installing flooring can transform your attic into a livable space. Garage insulation can be just as effective in cost reduction and home investment. Plus, you can’t go wrong with finishing your basement. You’re a DIY pro now — don’t be afraid to tackle your next project.
What Do You Think?
Have thoughts on this topic? We're listening. Head over to Twitter or Facebook, and use #dumpstersblog to join the conversation.


