Complete Guide to Kitchen Demolition
Gutting a kitchen yourself can keep thousands in your pocket. Check out these DIY kitchen demo tips.
Make cleanup a breeze with a roll off dumpster:
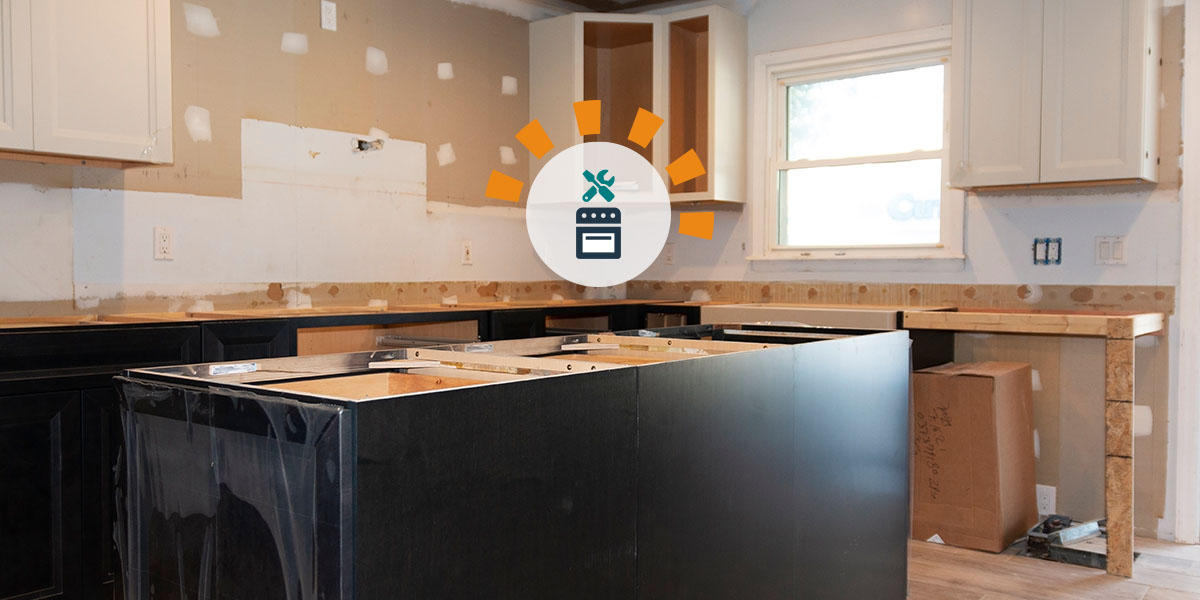
Straightforward Kitchen Demolition Tips for DIYers
Starting to feel like the heart of your home is more Kitchen Nightmares than Martha Stewart? Creating your dream kitchen starts with getting rid of the less-dreamy stuff you’re currently stuck with.
Even if you decide to hire a contractor to handle the remodel, making your kitchen demolition a DIY job is a great way to keep more money in your project budget. And just about any homeowner can do it. The job doesn’t require any specialized skills and you probably already own all the tools you need. Read on to learn how to demo a kitchen yourself.
Kitchen Demo FAQs
How much does a kitchen demolition cost?
Hiring professionals for your kitchen demolition costs between $500 - $750 on average. But that number can easily run as high as $1000 if you have a large kitchen or are demolishing down to the studs.
What expenses can I expect as a DIYer?
The only direct expense associated with DIY demolition is debris removal. This means gutting your kitchen yourself can save hundreds in your remodel budget, with your only expense really being a roll off dumpster.
Why do you need a dumpster? Because there will be a lot of debris that you won't want in your workspace for both safety and cleanliness reasons.
Ready to get a dumpster? Place your order online today.
How long does it take to demo a kitchen?
Every demo has its own timeline depending on the size of the space and the types of materials involved. On average it takes between 10 - 20 hours to completely gut a kitchen.
Can I demo my own kitchen?
Yes, assuming you have a toolbox on hand you should be able to demo your kitchen yourself. Below we outline the tools you need and the steps to take to get the job done.
Order a Dumpster Online
Shopping after hours? Too busy to make another call? Book the dumpster you need, when you need it. Order your dumpster online 24/7.
Prep for Your Kitchen Demo
Gather Your Tools
Demolition is a big job, but it doesn't take many tools. Here's what you'll need:
Tools | Supplies |
|---|---|
Pry bar | Ladder |
Screwdriver | Drop cloths |
Putty knife | Wallpaper steamer |
Utility knife | Heat gun* |
Hammer or pliers | Chemical stripper* |
Need a dumpster to handle the mess?
Get a Price and Place Your Order Give Us a Call to Learn More
Clean Out "Keep" Items
Box up dishes, cookware, dish cloths and anything else you plan to re-home in your brand-new kitchen. Store them in another room where there’s no danger of being damaged when the hammers start swinging. This step also gives you the perfect opportunity to declutter and get organized.
Shut Off Utilities
It’s not safe to demo a kitchen while the utilities are still on. Turn off power to the kitchen by flipping the appropriate switch in your breaker box. There’s usually a circuit map showing which switch controls the kitchen, but if not, just use trial-and-error.
To Turn off the Water in Your Kitchen
- Look under your sink and find the two pipes running through the back of the wall or into the floor. These are your hot and cold water lines.
- Trace each line to the wall or floor, looking for a knob or lever.
- Twist the knobs or levers clockwise to shut off the water.
- Turn on both taps to make sure the water is off and to drain any water stuck in the P-trap.
If there aren’t knobs or levers under your sink, you can follow the lines into your basement or shut off water to the whole house at your main supply valve. This is usually located either in your garage or near your front water hose.
To Turn off the Gas to Your Stove
- Pull the stove away from the wall and find the gas valve, which is usually a lever-style handle.
- Turn the lever until it no longer moves — usually a one-quarter turn.
- Switch on the burners to ensure that the gas is now off. If you can't turn or can't find the lever, call your gas company to shut off the supply. Do not try to force a stuck lever.

Keep in Mind
If you have a countertop range or wall oven, you can usually find the valves to shut off their gas supply in the cabinets below. However, in older homes, these valves may not be in your kitchen. If you can’t find them, call your gas company to shut them off.
Remove Appliances
If you’re upgrading to new models, you can toss the old ones in your dumpster or check out our appliance disposal guide for other options, including the best places to donate them if they’re in good condition.
Store any appliances you plan to keep somewhere they won’t be in the way when demolition work begins.

Safety Tip
Never remove a stove without shutting off the gas first. You risk starting a fire or even causing an explosion.
Rent a Dumpster
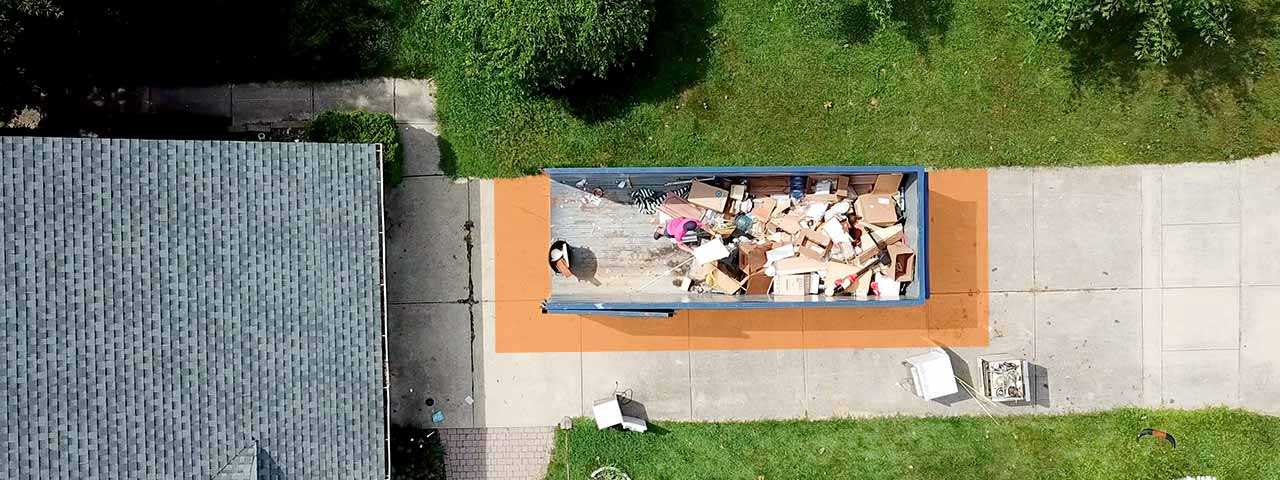
Before you get to work, rent a home dumpster to clean up as you go. Between your appliances, cabinets, countertops, flooring and backsplash, gutting a kitchen will leave you with plenty of debris that your trash service won’t take at the curb. So, if you’re not up for hauling it to the dump yourself, a dumpster is the best solution.

Disposal Tip
We typically recommend a 20 yard dumpster for home remodels, but our team can help you decide the best fit for your particular project.
How to Demo a Kitchen Step-By-Step
Now that you prepped your kitchen for demolition, let’s get down to business. Here’s how to gut your kitchen like a pro.
Step 1: Remove Countertops
Get your kitchen demolition underway by tearing out your existing countertops.
Tools for this step:
- Pry bar
- Screwdriver
- Putty knife
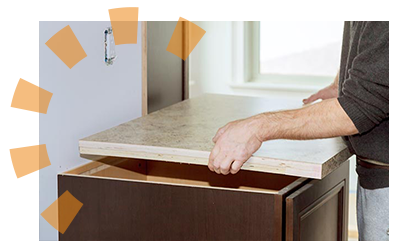
How to Demo Kitchen Countertops
- If you have a drop-in sink, cut through the caulk around the sink with a chisel or putty knife. Pry the sink away from the countertop and lift it out of place—you’ll probably need a helper.
- If you have an under-mount sink, unscrew the brackets underneath while a helper holds the sink up. It will slide out of place once the brackets are gone.
- Insert your putty knife or chisel between the countertop and the wall, cutting through the caulk. Pry forward until the counter loosens from the wall.
- Work your way around the kitchen until all countertop sections are loosened.
- Look inside base cabinets and remove any screws attaching them to the countertops.
- Slide the pry bar under the rim of the countertop and pry up until a helper is able to lift the countertop off.
Get a more detailed walk-through of this step in our how-to guide for countertop removal.

Safety Tip
Due to their weight, you should hire a pro to remove natural stone counters like granite or quartz. If a tile counter is too heavy to lift, chip away the tile with your chisel to lighten the load.
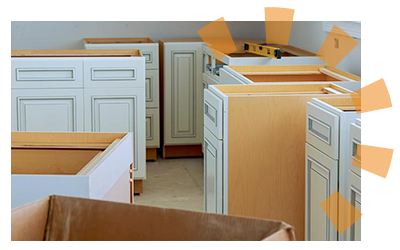
Step 2: Remove Base Cabinets
With the countertops gone, it’s time to get rid of their base.
Tools for this step:
- Prybar
- Putty knife
- Screwdriver
- Hammer or pliers
How to Tear Out Base Cabinets
- Remove any trim along the bottom or sides of your base cabinets by sliding a putty knife between the trim and the wall, then prying the trim loose.
- Open each cabinet section’s drawers and doors to find the screws fastening it to the wall and to the cabinets next to it— usually one in each corner. Remove them with a screwdriver.
- Start at one end of the kitchen and pry each cabinet section away from the wall.
- Pull any remaining nails from the wall with a hammer or pair of pliers so they don’t pose a risk during the rest of your work.
- Toss your countertops and base cabinets in the dumpster now so you have a clean, safe work area for the next task.
Get a more detailed walk-through of the lower cabinet removal process in our guide to remove cabinets.
Step 3: Take Down Wall Cabinets
This is the part of gutting a kitchen where you’ll need the most helpers on hand. It’s not difficult, but you’ll need to work slowly and carefully to make sure no one gets hurt.
Tools for this step:
- Ladder
- Screwdriver
How to Demo Kitchen Cabinets
- Unscrew the cabinet doors so they’re not in the way while you work.
- Find all the screws attaching the first cabinet section to the wall and the sections next to it.
- Remove each screw while helpers support the cabinet from below.
- Carry away each cabinet section to the dumpster as it’s removed.
Get a more detailed walk-through of the upper cabinet removal process in our cabinet removal guide.
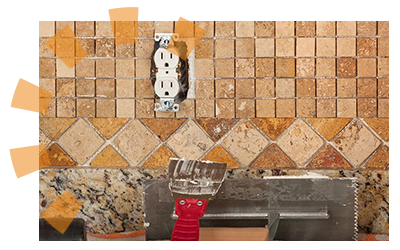
Step 4: Get Rid of Backsplash
Time to finish up the last bit of wall work.
Tools for this step:
- Chisel
- Hammer
- Screwdriver
- Drop cloths
How to Remove Kitchen Backsplash
- Lay down drop cloths to catch tiles as you work.
- Unscrew the plates on light switches and outlets within your backsplash area.
- Break up grout lines between a few rows of tile using your hammer and chisel.
- Slide the chisel under each tile in the current section and pry it off. Tap the chisel with the hammer if it’s difficult to pry.
- Repeat until the entire backsplash is removed.
- Wrap up your drop cloths and carry them to the dumpster.

Keep in Mind
If you have old sheets or blankets you don’t want anymore, you can save money by using them as your drop cloths.
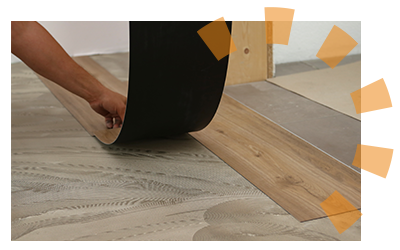
Step 5: Tear Up Flooring
You’re in the home stretch! Removing vinyl or linoleum flooring is the only step in the kitchen demolition process where you may need to rent a few tools.
Tools for this step:
- Utility knife
- Putty knife
- Wallpaper steamer
- Heat gun*
- Chemical stripper*
*If necessary.
If your kitchen floor isn’t vinyl, use these tips for removing tile.
Before you get to work be aware: if your new floor will also be vinyl or linoleum, you can simply install it over the existing layer. But if you’re going for something totally new, you’ve got a little more work to do.

Safety Tip
If your vinyl floor was installed before 1986, test it for asbestos. If it’s present, stop your flooring demo and call an asbestos abatement contractor for safe removal.
How to Remove a Linoleum or Vinyl Floor
- Cut the flooring into 6-inch wide strips with a utility knife.
- Pull up each strip to reveal the adhesive layer underneath. If the strips are difficult to tear up, use a heat gun to soften the adhesive.
- Heat up your wallpaper steamer and apply the pad to a section of adhesive for 90 seconds. Remove the pad and scrape away the loosened adhesive with a putty knife. Repeat until you’ve removed it all.
- Apply a chemical stripper according to the package’s instructions if there are patches of adhesive you can’t scrape away.
- Carry the flooring strips to your dumpster and sweep up the kitchen with a vacuum or shop vac.
Get a more detailed walk-through of how to remove this flooring in our vinyl and linoleum flooring removal guide.

Keep in Mind
If there’s a wood floor under your linoleum you’re hoping to refinish, hire a professional to remove the linoleum to avoid damaging the wood with heat or moisture.
What Comes After Your Kitchen Demolition?
Now that you’ve done the hard work of demolishing your kitchen, it’s time to prep for a trend-setting remodel worthy of your favorite cooking show. With the money you saved gutting it yourself, you may just be able to splurge on snazzier countertops or buy that energy-efficient refrigerator you’ve always wanted.
Not sure how to keep your household running without a working kitchen? Check out our advice for living through a major remodel.
What Do You Think?
Are you currently renovating your kitchen? We want to hear about it. Head over to Twitter or Facebook,
and use #dumpstersblog to join the conversation.


